

As a designer, it’s a fantastic feeling to see the designs come to life on paper. It’s incredible when placed at the brand’s base and displayed on shelves.
Read Story
Let me tell you a story about how it all began, or maybe a long one. My first product was to create, print, and sell products. I quit my job to become an independent entrepreneur. It failed, just like every business! Because I was completely new to everything. Because I was too young
to understand the design world and too new to understand the business, everything. Wait a minute. There aren’t tears! After a long cycle of learning, experiences, maturing, and aging. Now, I’m moving in the same direction and specializing in packaging, merchandise, and printing, but with more progress.
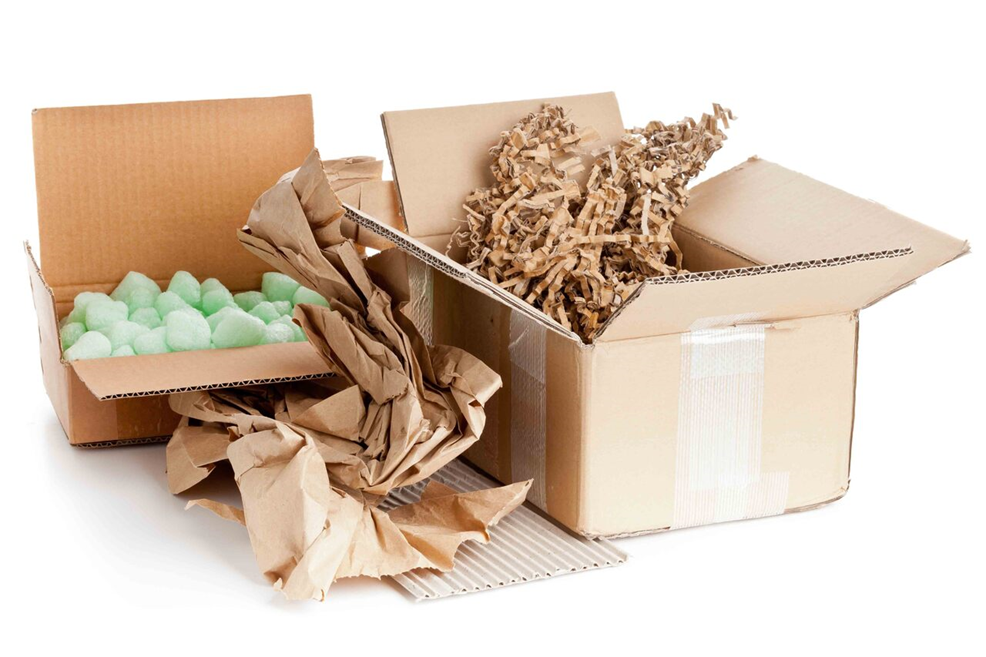
Information about the Quality of Prints
Yes, we did return to Los Angeles. My life was my own, and I only had my dreams. My goal was to showcase the printed paper products that I had drawn. Next, I went around the town and created my creations. The adventure began by visiting printing houses to learn about the quality and what I wanted in bulk orders. The experience started when I discovered I was visiting Los Angeles’ printing canter. I was able to explore the city. Oh! It was both strange and charming. It was possible to find huge factories that could produce printed packaging and some powerful printing machines.
My dreams kept me going. I spent the day in these areas, talking to the workers and the printers and watching how things were made. I was familiar with paper and began to learn about various printing methods. I also understood the technical aspects of printing, including what I must know
as a designer to print efficiently. It’s all worth it because now I can sit in my corner and make packaging designs and other printing patterns with all the experience and work, I have put in.
I’m here! I’m back! This information is a compilation of my experience in the field. I hope to help you create excellent print materials! It’s not easy! But was I looking for the easy things? Quality is what we are all about, not quantity! We will cover the basics of sending your patterns to printers as you read the following. Prints can be expensive and don’t come with cancel buttons. They shouldn’t ruin our creative dreams. Here’s the complete list!
Proof-Read Your Design
You think you’ve done a fantastic job designing your packaging. But there is a problem. Grammatical errors can ruin the appeal. Huh! Huh! This is a mistake I made! When I saw the prints, I noticed they had an extra “t.” My ears were so red that they covered my face with shame; I was shocked! Do I have to pay extra for prints? Pf! It wasn’t a perfect day. They printed a minimal quantity, so we could still use it for tiny samples. It isn’t the most fun way to be an artist. It is always a good idea to review printed items before they reach their final printing
locations. This is especially true if the client cannot print more than a few samples or if there is no one to correct the prints. It’s our responsibility as designers to ensure that is
maintained. We cannot let go of our commitment!
CMYK Colour Mode
Seriously!!! This is a serious topic! All packaging templates and print files must be created using CMYK mode. I understand! It is so apparent. Don’t ignore the power of making mistakes. We are all here, finally! It makes me a bit mad when I design models that don’t make sense. It’s a nightmare! Ugh! It’s a horrible feeling. It may seem obvious, but it is essential to ensure everything is correct. To ensure that the printer receives the files, it is a good idea to double-check before you click the submit button.
Perforation, Bleed, and Cut-Outs
These words were utterly foreign to me when I first started printing. These systems were almost routine in the past. To cut the print, an additional/extended design must be added on all sides. This is known as bleeding. This is because, although the cut is being made precisely where it is supposed to be, it may cause a slight change.
It’s common. This happens even with the best equipment. This is similar to cutting something with cutters. The blade size only takes up a small area of the paper. If there was no bleeding, we could see the edges of the article.
We don’t want amateurish models with a black border to make them seem unprofessional. The printing industry recommends a minimum 3 mm border for all models, packaging included.
A solid line in lowercase is drawn to indicate the area for the printer to cut. A dashed line indicates that the paper must be folded from this point. It is essential to verify that the interpretations of these markings may differ from one printer to another. These markings are recognized by all printers that I have encountered. Designers are also responsible for determining whether prints should be perforated or not, depending on the packaging design. Once you get used to it, it won’t seem overwhelming and will become your daily routine.
Material
The quality of the paper is a significant factor in the quality of prints. I prefer to print on white paper, not light grey or other colours. It gives me better results in colour. GSM is the thickness of the article. It is essential to be aware of this. This knowledge is beneficial, and sharing your thoughts with customers and printers is a good idea.
Can you picture the designs you would like to make on matte paper? Does coverage ensure print integrity? These decisions should not be left to the printer. This will impact the quality of packaging, and I would be open to a discussion.
Fonts
We also know the rules, whether we are designers at a design school or have learned them ourselves. Here’s what I learned while working. Customers want to ensure that only the most essential aspects of their business and brand are visible.
We all have luxury font libraries, access to Adobe fonts and licenses, and luxury fonts. So cool! However, the printers all around us might not have all of them! We don’t want to believe we will be in for a surprise. The models were created with different fonts. The default font for the prints is Comic Sans or Arial.
The printer system found no fonts and automatically updated them based on their design skills.
Example
Let’s say the packaging contains a warning about the product. For example, it might mention the importance of patch testing. You might consider it useless. Instead, place the notice in small fonts at a specific place. Depending on the branding rules and the business’s needs, this
may be important for the customer. You must ensure that all information required is included in your product and is easily accessible. After having my fingers burned lately, I ensure that all
customers are asked to give me any details before the event. Then I make sure to set the text to the correct size to ensure quality. Do not get lost in all the chaos. Remember to write the item’s name in a clear font so customers can easily find it. It is essential to balance the artistic and practical aesthetics of packaging design.

Make sure everything is perfect.
If you have multiple images in your Adobe Illustrator files, you must include them before printing. It will display an unrelated image to printing if you don’t. Speaking of experience, I have never made a mistake in printing paper early in my career. The fantastic texture that I
created for my design is now gone. The prints are now clean and have all the roughness that I wanted. It is always a good idea for your packaging to be complete.
Instead of using PS, use Ai instead.
It was an accident! It was an accident for me! These included billboards, stage backgrounds, and many other things. It became quite challenging to manage Photoshop files after a while. Transferring large files was slow and often crashed.
Anyway. It was happening a lot. One day, I needed urgent help. I realized how much time I was wasting simply because it is so challenging to handle files. After testing everything, I transferred the file to Illustrator. The file size dropped for me. You will need to adjust specific effects if Illustrator is used to create large files. It makes my job easier and more enjoyable.
Be aware of File Uploading, Relaxation.
Let’s say your documents are uploaded to Google Drive, and you work in a different time zone for a client. Your designs were accepted. The entire file was shared, and you ended the day by relaxing in your comfy clothes and falling asleep like a child. You probably know what? Your client is now your new client. Your client attempts to print the documents but is presented with an error message.
Files cannot be opened due to restricted access. As you drift off to sleep, you reflect on how wonderful you were, and your client shouts at you to get in touch quickly.
Oh! It was apparent. Don’t forget to do your research! It’s not okay to hide it. It would be a shame to keep it hidden. Let the right people access your packaging templates, luxury documents, or other printable files.
Testing
Although almost all customers do this, some people choose to ignore it. All of the above are covered if a mistake is made as long as there is a printed example.
This isn’t a panacea for all problems. All of the above would be taken. Even if the tests have
been printed, what happens if they are not accessible to you? You may be the only designer who can determine if something is right or wrong. But what if you are unable to reach it for some reason? It may not be possible to locate you. I wouldn’t do this randomly.
There are many complaints about oh! It’s not enough to make it beautiful. You must ensure it serves its primary purpose.
How should I design product packaging?
My answer is simple: you do your job well as a designer. Ensure you understand the brand’s importance and make every effort to use your design skills. It doesn’t overlook the importance of practical aspects. It sounds so dull! It sounds so boring!


